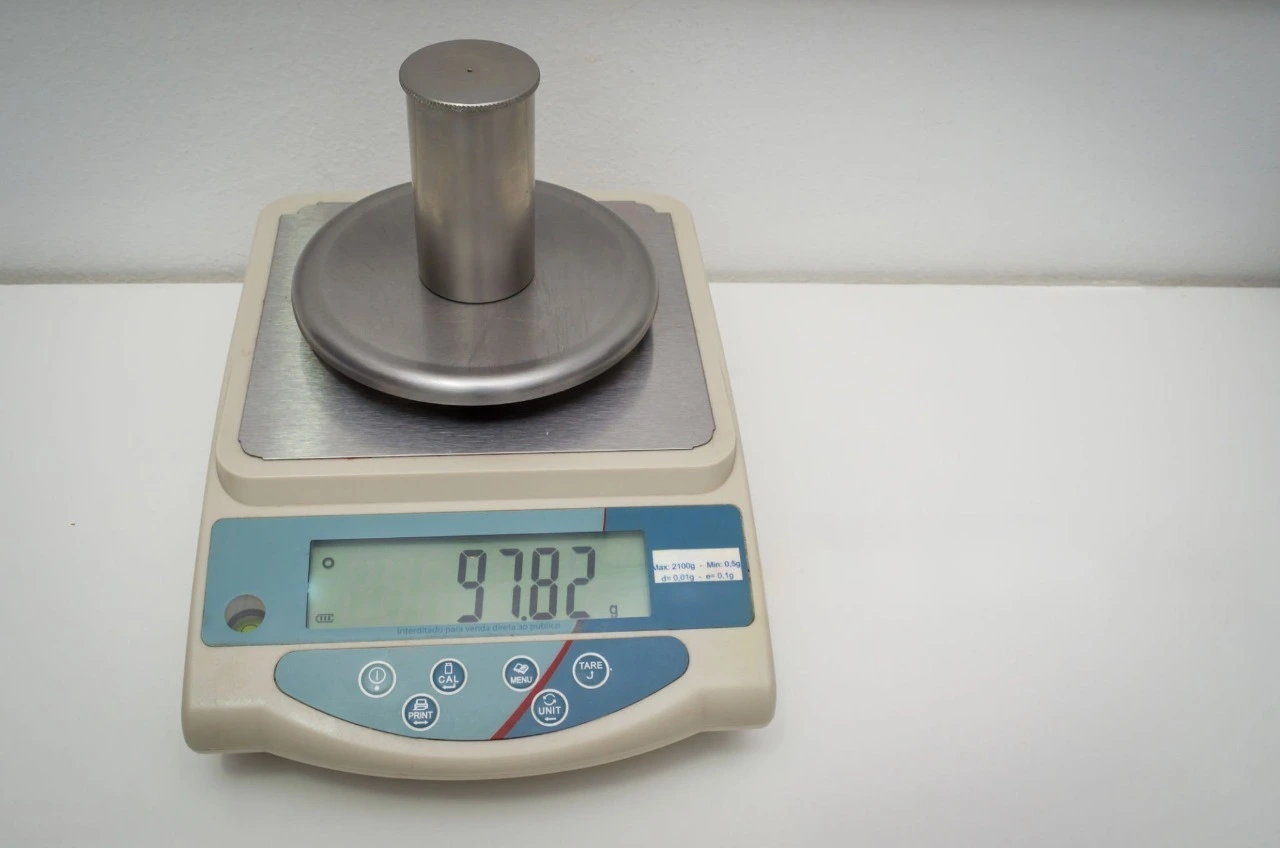
Analytical balances are crucial tools for precision measurement, indispensable wherever accurate mass determination is required—from laboratory research to industrial quality control. These sophisticated instruments can measure weights with precision down to 0.1 milligrams or even finer, making them central to tasks where accuracy is paramount. However, despite their advanced capabilities, users frequently encounter issues such as unstable readings, inconsistent results, and damage to the delicate equipment.
This guide aims to provide a comprehensive and practical manual for using analytical balances, helping you operate them with precision and efficiency.

Environmental Factors
Analytical balance readings are highly susceptible to environmental factors, even minor changes can severely compromise measurement accuracy.
A. Stable Work Surface
Place the analytical balance on a sturdy, level, and vibration-resistant work surface, such as a granite slab or a dedicated anti-vibration table.
- Reason: Vibrations from foot traffic, nearby machinery, or even closing doors can travel through the floor to the balance. This external interference can lead to inaccurate readings.
B. Maintain Level
Most analytical balances come equipped with leveling bubbles (or spirit levels) and adjustable feet. Before you start any measurements, adjust these feet until the bubble is perfectly centered.
- Reason: An unlevel balance causes uneven load distribution on its internal sensors. This continuous imbalance introduces systematic errors, directly impacting the accuracy and reliability of measurement results.
C. Battling the Unseen: Temperature and Humidity Control
Maintain a consistent room temperature (avoiding direct sunlight or air conditioning vents) and moderate humidity (ideally 40%–60% RH) in the balance’s operating area.
- Reason: Temperature fluctuations in the balance chamber can cause air convection, distorting weighing results. Materials also expand or contract with temperature changes. Conversely, low humidity often generates static electricity, leading to fine powders sticking or causing unstable, jumping readings.
D. Avoid Air Currents and Static Electricity
Place the analytical balance away from air vents, open windows, and doors, as it’s highly susceptible to air currents. In particularly dry environments, consider using an ionizer or anti-static brush to prevent static electricity issues.
- Reason: Even the slightest air movement can exert enough force on the weighing pan to distort readings. Static electricity creates attractive or repulsive forces, directly impacting the apparent weight of samples, especially with powders.
E. Avoid Electromagnetic Interference
Keep your balance away from large motors, high-frequency equipment, or unshielded electrical devices.
- Reason: Electromagnetic fields can interfere with the balance’s sensitive internal electronic sensors, leading to unreliable and inconsistent measurement results.
Preparing for Precision: Calibration and Preheating
Thorough preparation before use ensures precise measurements.
A. Adequate Preheating
After connecting to power, an analytical balance typically requires at least 2 hours (or as per the manufacturer’s specific instructions) of preheating time before it’s ready for precise operation.
- Why it matters: Warm-up allows the balance’s internal components to reach a stable operating temperature. This thermal equilibrium prevents reading drift and ensures consistent, reliable performance throughout the weighing process. It’s like letting a high-performance engine warm up before it can deliver optimal results.
B. Calibration
To maintain accuracy, you should regularly calibrate the balance using certified standard weights. Most balances offer both internal calibration (often automatic) and external calibration (manual calibration using a calibrated weight).
- Frequency is key: While a full external calibration might be performed less frequently (e.g., quarterly or annually, depending on usage and regulatory requirements), the best practice is to conduct a quick accuracy check daily or at the start of each weighing session using a known, trusted weight.
- Why it matters: Calibration is the sole method for correcting the minor drifts or systematic deviations that accumulate in a balance over long-term use. It essentially resets the balance, ensuring its measurement results precisely conform to established standards.
Meticulous Weighing Operation
This phase demands meticulous attention to detail, as human error is a significant factor in compromising measurement accuracy.
1. Cleaning the Weighing Area
Before placing anything on the pan, ensure both the weighing pan and the inside of the draft shield are impeccably clean and free of dust or debris.
- Tools: Utilize a soft brush or a lint-free cloth specifically designed for delicate instruments. Even a minuscule particle can significantly impact a reading on such a sensitive device.
2. Selecting the Right Weighing Container
Opt for a clean, dry, and appropriately weighted weighing container. For optimal accuracy, choose the lightest possible container that suits your sample (e.g., weighing paper, a small weighing bottle, or a small beaker).
- Material consideration: Always confirm the container’s material is compatible with your sample to prevent unwanted reactions or adhesion.
3. Setting the Baseline: Zeroing (Tare)
Place your empty, clean container onto the weighing pan. Close the draft shield doors. Once the reading stabilizes, press the “Tare” or “Zero” key. This action subtracts the container’s weight, allowing the balance to display only the sample’s mass.
4. Sample Addition
This step demands a steady hand and strict adherence to protocol:
- No bare hands: Never directly touch samples or weighing containers with your bare hands. Always wear gloves or use clean tools like tweezers or crucible tongs. Oils, moisture, or even body heat from your hands can introduce weight inaccuracies.
- Slow and steady: Use a clean, appropriate spatula or dropper to add your sample slowly and in small, controlled increments. This technique helps prevent overshooting your target weight and minimizes the buildup of static electricity.
- Seal the chamber: After each addition of sample, immediately close all draft shield doors. Wait for the reading to fully stabilize before adding more material or recording the final weight.
- Prevent spillage: Exercise extreme caution to prevent the sample from spilling onto the weighing pan itself or into the internal mechanisms of the balance. Spills can lead to inaccurate readings and potentially damage the instrument.
5. Reading and Recording
Once you’ve added your sample and closed the draft shield, wait for the reading to become completely stable, meaning the displayed digits no longer fluctuate.
- Precision matters: Record all digits displayed on the balance, including any trailing zeros, as they indicate the achieved precision of your measurement.
6. Sample Temperature Consistency
Ensure your sample is at ambient room temperature before placing it on the balance.
- Why it matters: A sample warmer than its surroundings can create convection currents within the balance chamber, making it appear lighter than its actual mass. Conversely, a cold sample may cause water vapor from the air to condense on its surface, artificially increasing its apparent weight.
Maintenance and Precautions
Good maintenance habits help extend the lifespan of your analytical balance and keep its inherent accuracy over the long term.
A. Timely Cleaning
After each weighing session, promptly clean the weighing pan and any residual material or spillage inside the balance enclosure.
- Method: Use a soft brush or a lint-free cloth. For corrosive substances, exercise extreme caution and always follow proper safety protocols and the manufacturer’s specific guidelines for cleaning agents.
B. Power Off and Dust Cover
For extended periods of non-use, you can disconnect the power supply (remembering that you’ll need to allow for proper preheating before its next use). Always cover the balance with its dust cover when not in active use to protect it from dust and debris.
C. Handle with Care: Avoiding Shock and Overload
Analytical balances are delicate instruments. Never hit the weighing pan with heavy objects, and under no circumstances should you exceed the maximum weighing range specified for your balance. Overloading can inflict irreversible damage to the internal weighing cell.
D. Regular Professional Maintenance
Even with meticulous daily care, it’s highly recommended to have your analytical balance regularly serviced and calibrated by qualified professionals. They can perform deeper diagnostics, make precise adjustments, and ensure optimal performance.
E. Your Instrument’s Guide: Read the Instructions
Every analytical balance model possesses unique operational nuances and features. It is paramount to thoroughly read and strictly adhere to the manufacturer’s instruction manual. This document contains specific details regarding your particular instrument’s calibration, cleaning, troubleshooting, and optimal usage.
Stuccler Analytical Balances
At Stuccler, we believe precision shouldn’t be a compromise. That’s why we craft high-quality analytical balances designed for unmatched accuracy, rock-solid stability, and effortless operation. Built tough with cutting-edge tech, our balances consistently deliver the reliable results your demanding work demands. Ready to redefine your precision? Discover the Stuccler difference.
Conclusion
Mastering the analytical balance extends far beyond simply pressing a few buttons. It involves a comprehensive understanding and diligent control of environmental factors, meticulous preparation, precise operational techniques, and consistent maintenance. By integrating these practices into your routine, you’ll not only achieve accurate and reliable data but also significantly extend the lifespan of your valuable equipment and boost your overall work efficiency. Precision is a skill honed through practice and attention to detail, and with these guidelines, you’re well-equipped to perfect it.